

Install the GParted tool to resize the CrowPi partition

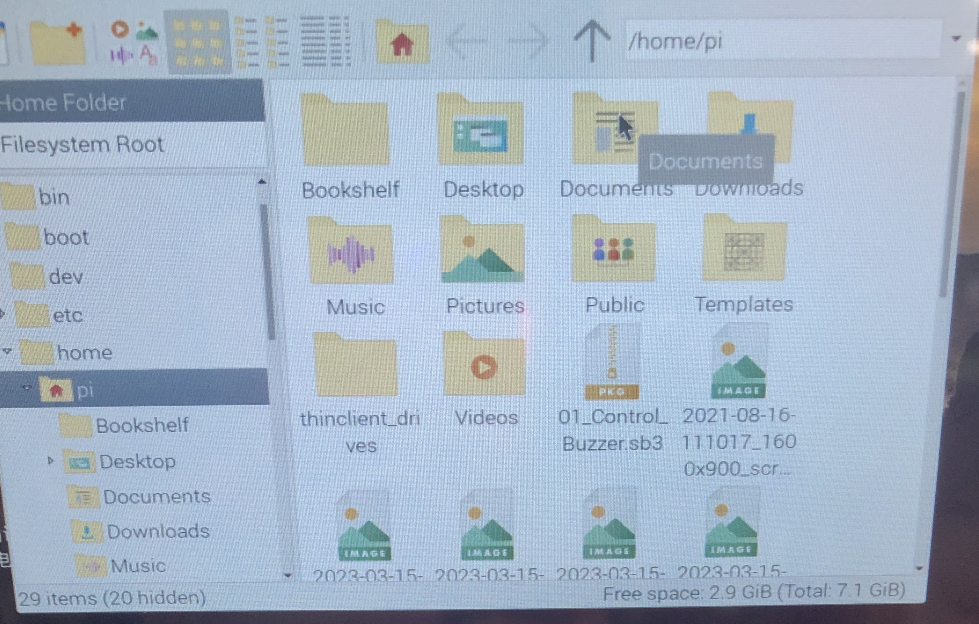
The CrowPi image has only 2.9G of free space, which will cause the crowpi image to fail to start normally after downloading the software. This may be resolved by partitioning the CrowPi with GParted.
Step1 install GParted
Run the following command:
sudo apt-get gparted
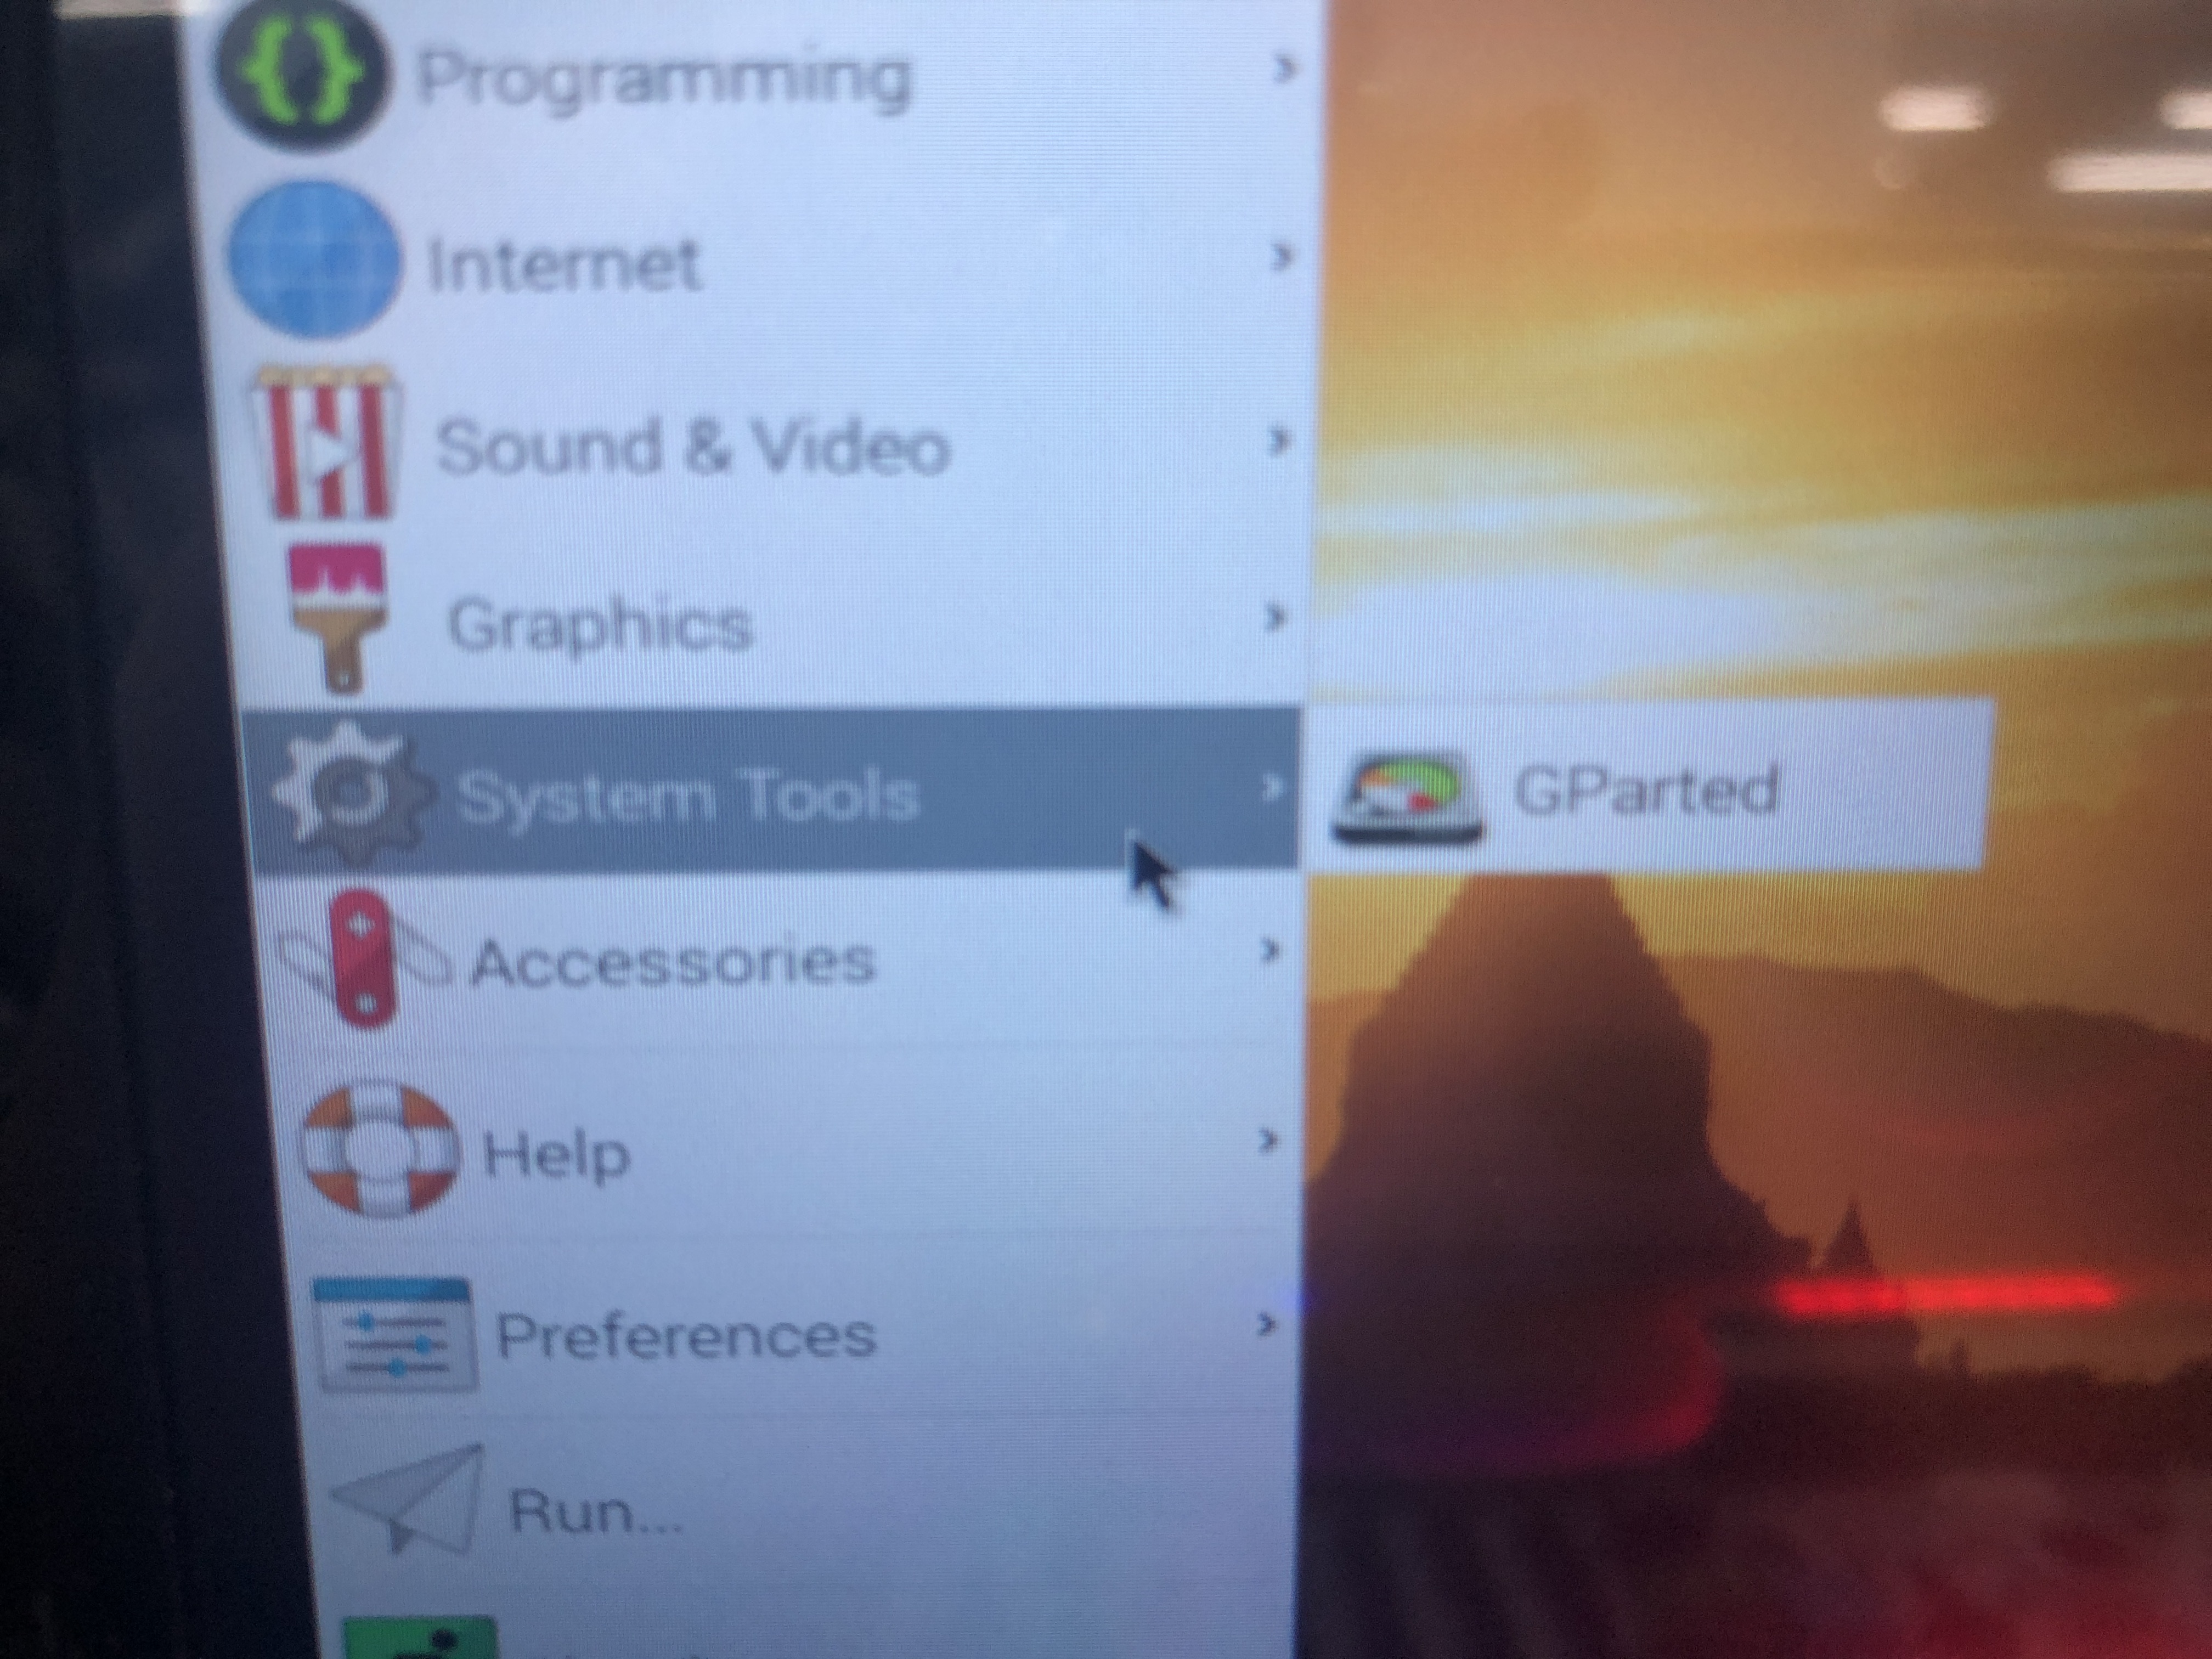
Step2 Open GParted
You can open it in Menu -> System Tools -> GParted, or run the command “sudo gparted” to open it
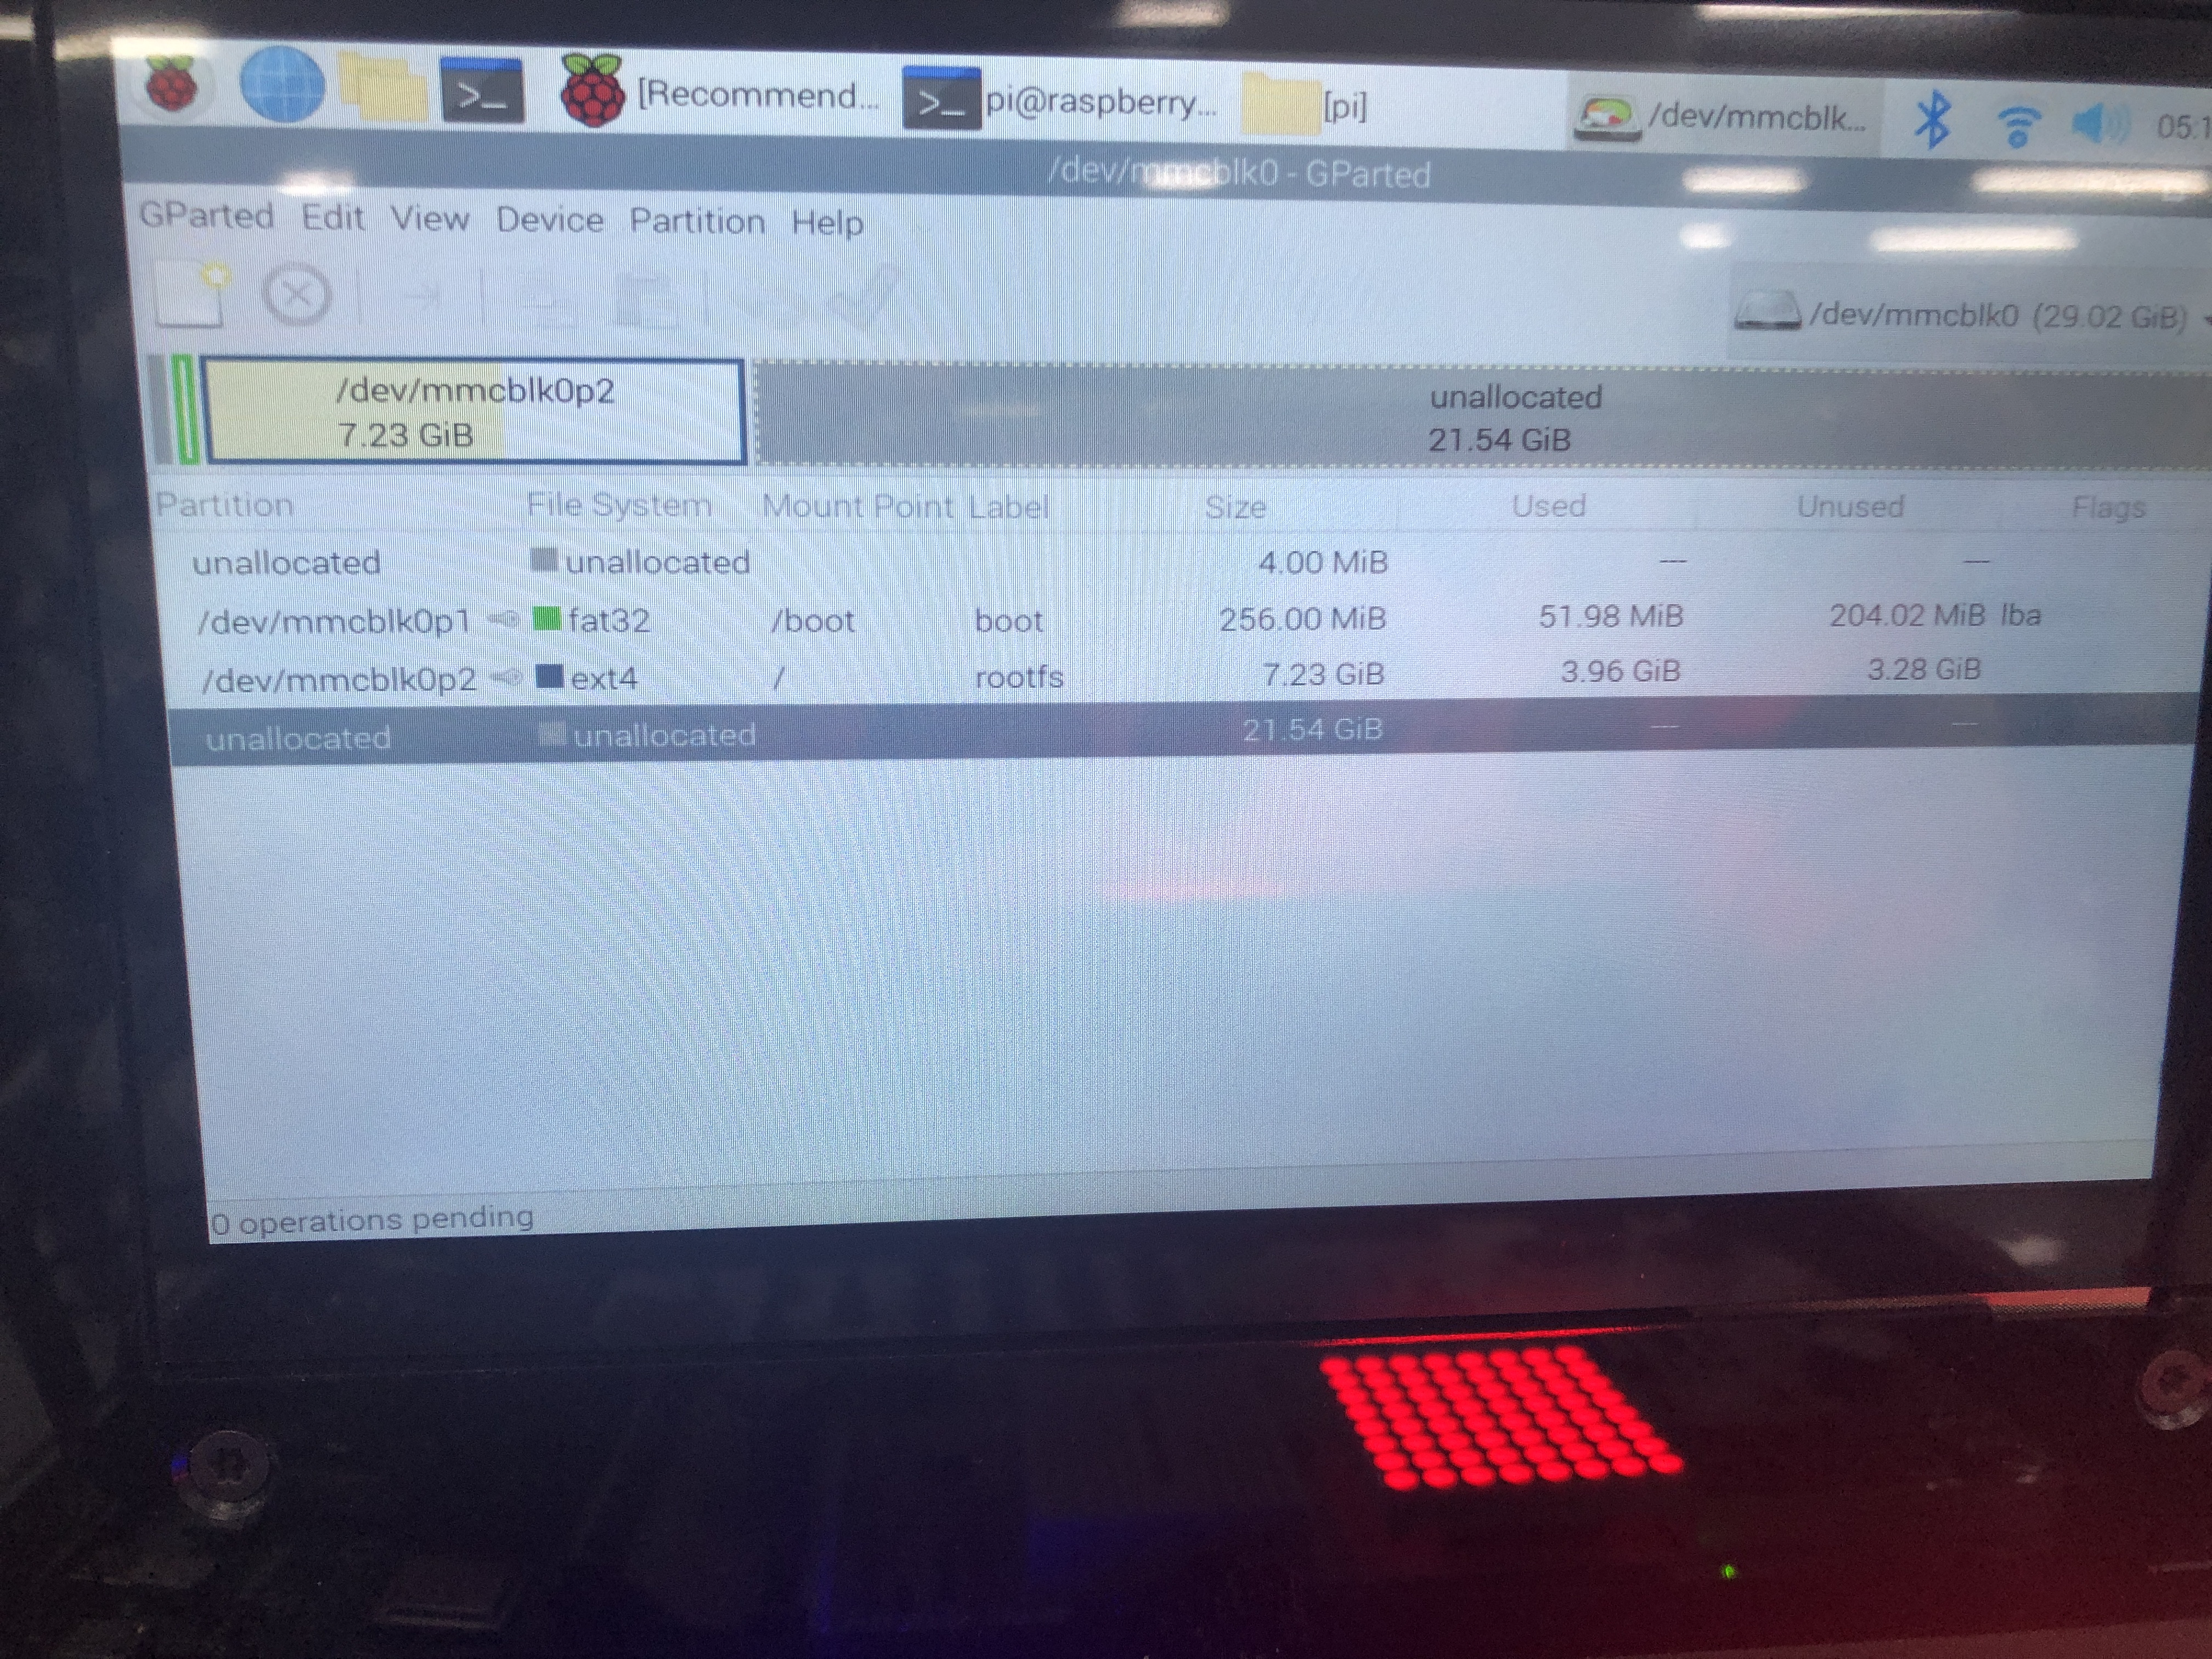
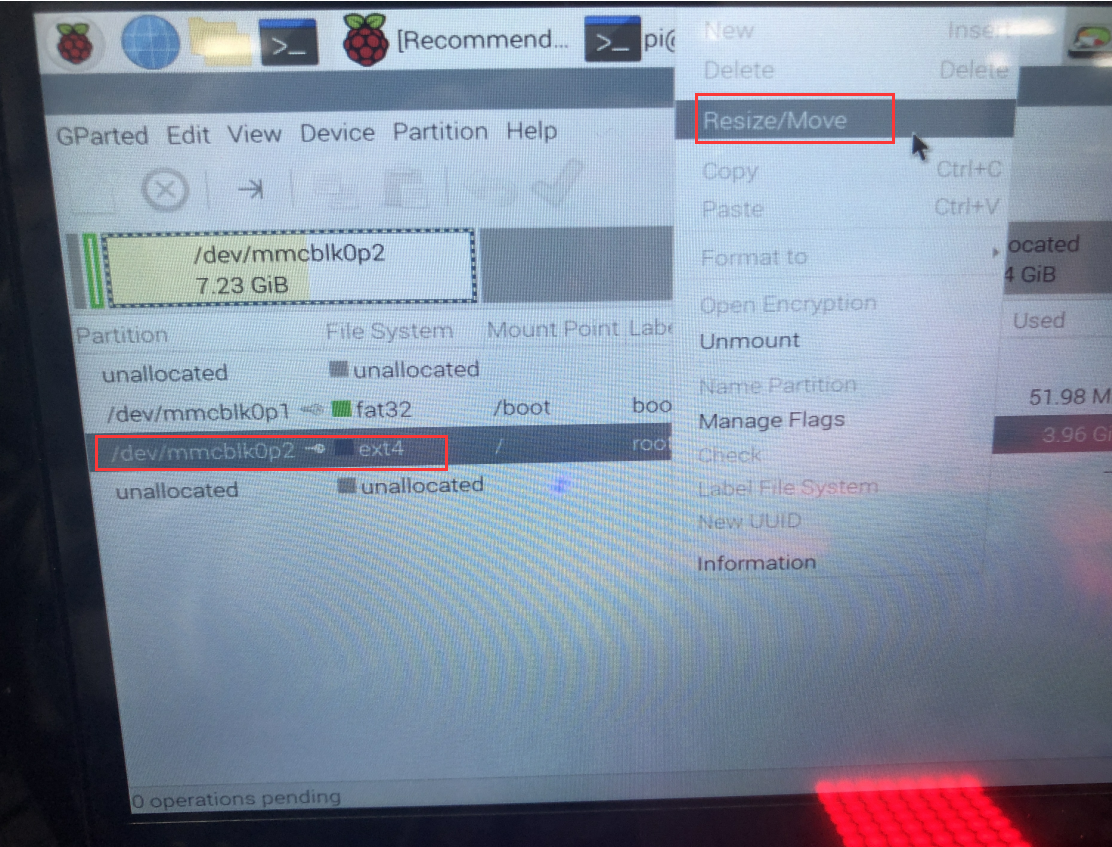
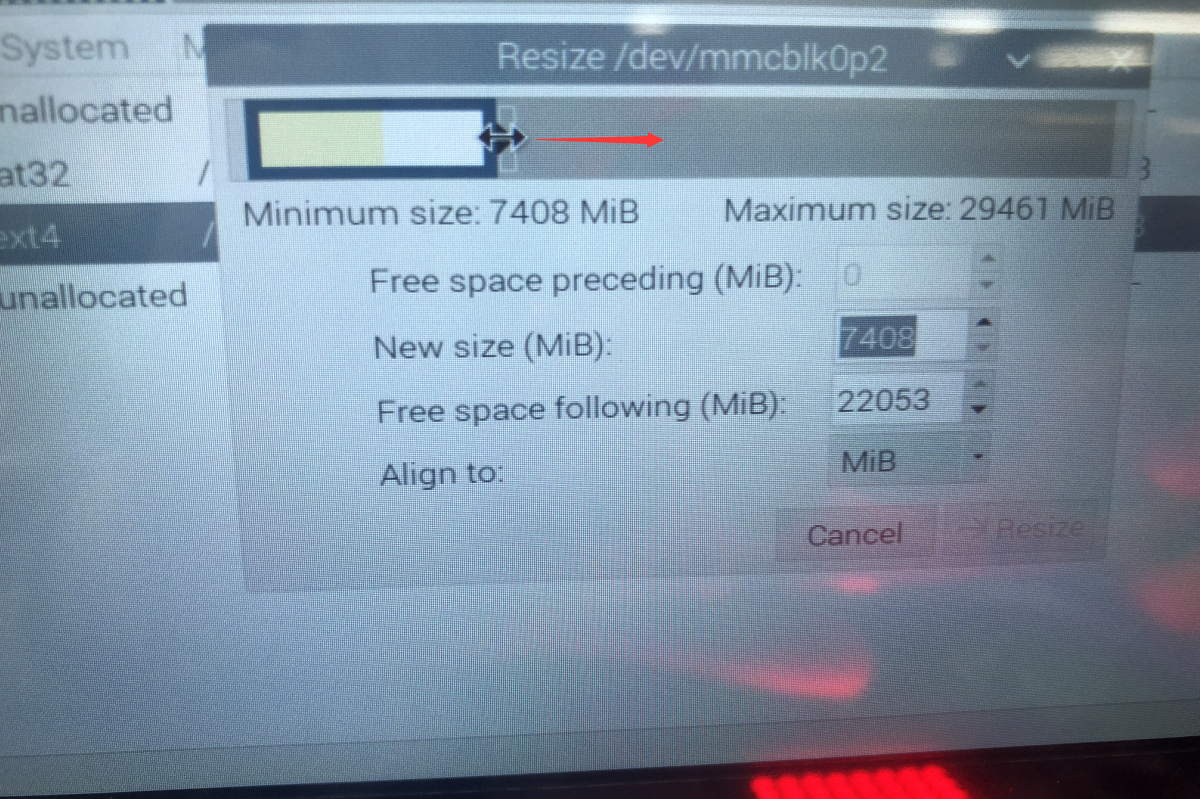
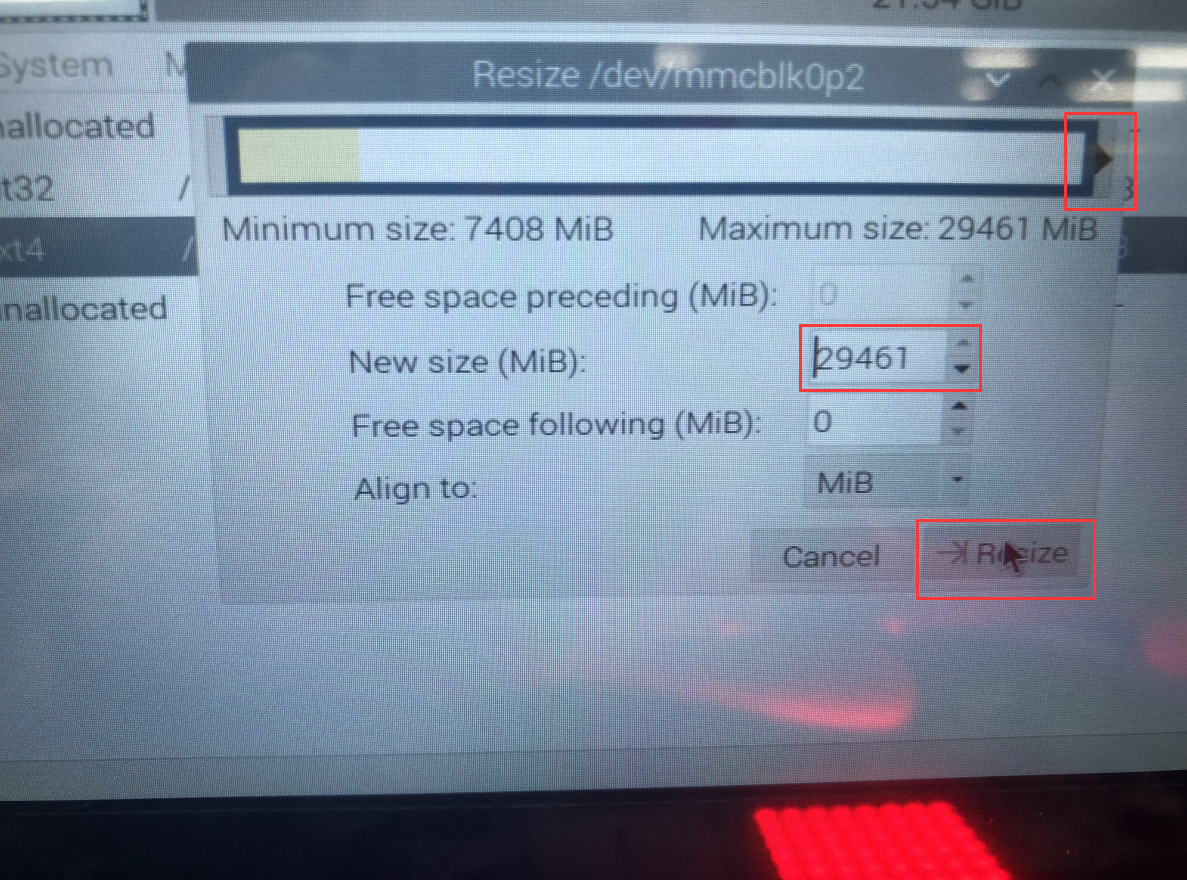
Step 3 Expand the partition
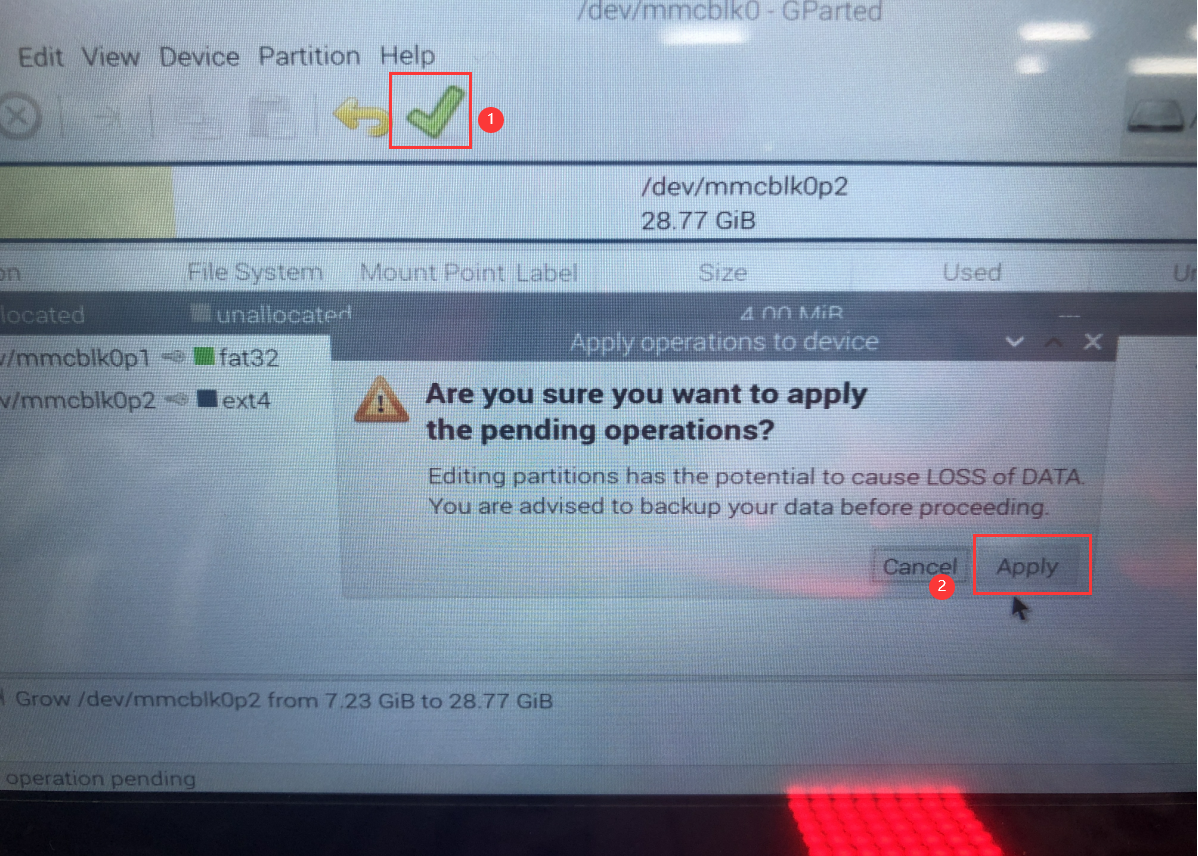
Right-click the /dev/mmcblk0p2, click resize; drag the mouse to the partition size (I dragged it to the maximum here), and then click the resize button. Click the green tick icon, and then apply. After waiting for a while, you can successfully expand the capacity!
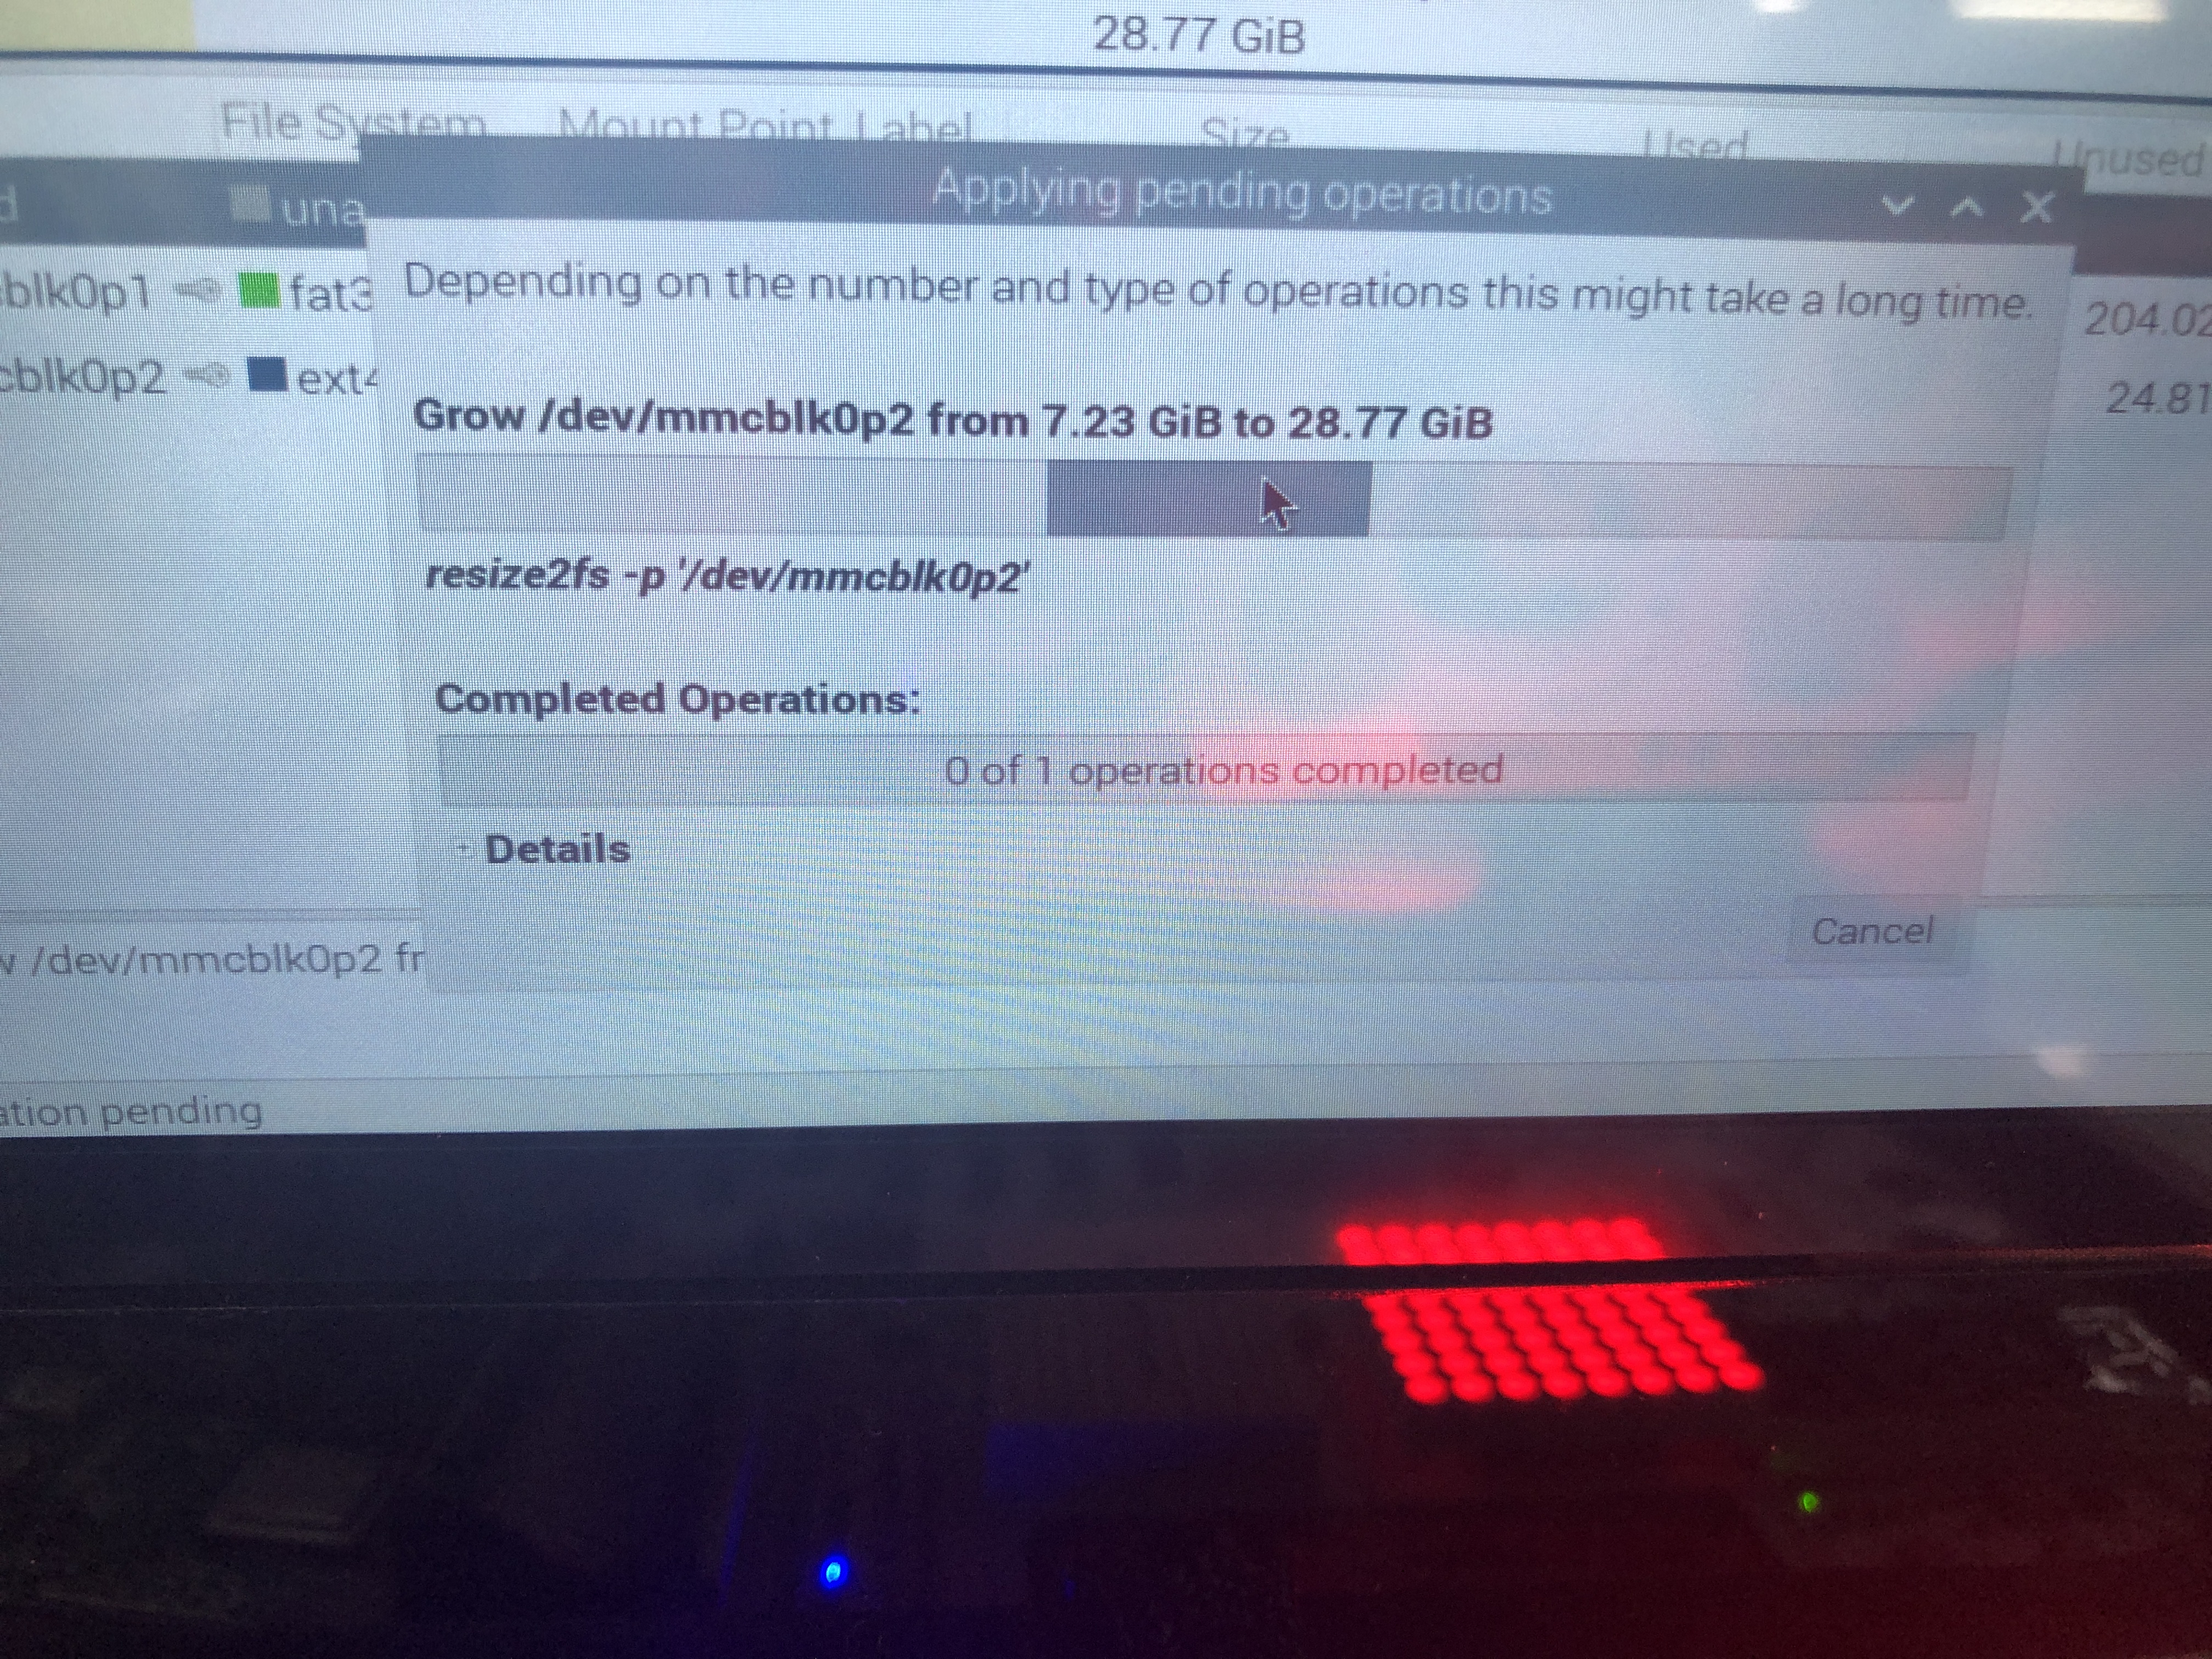
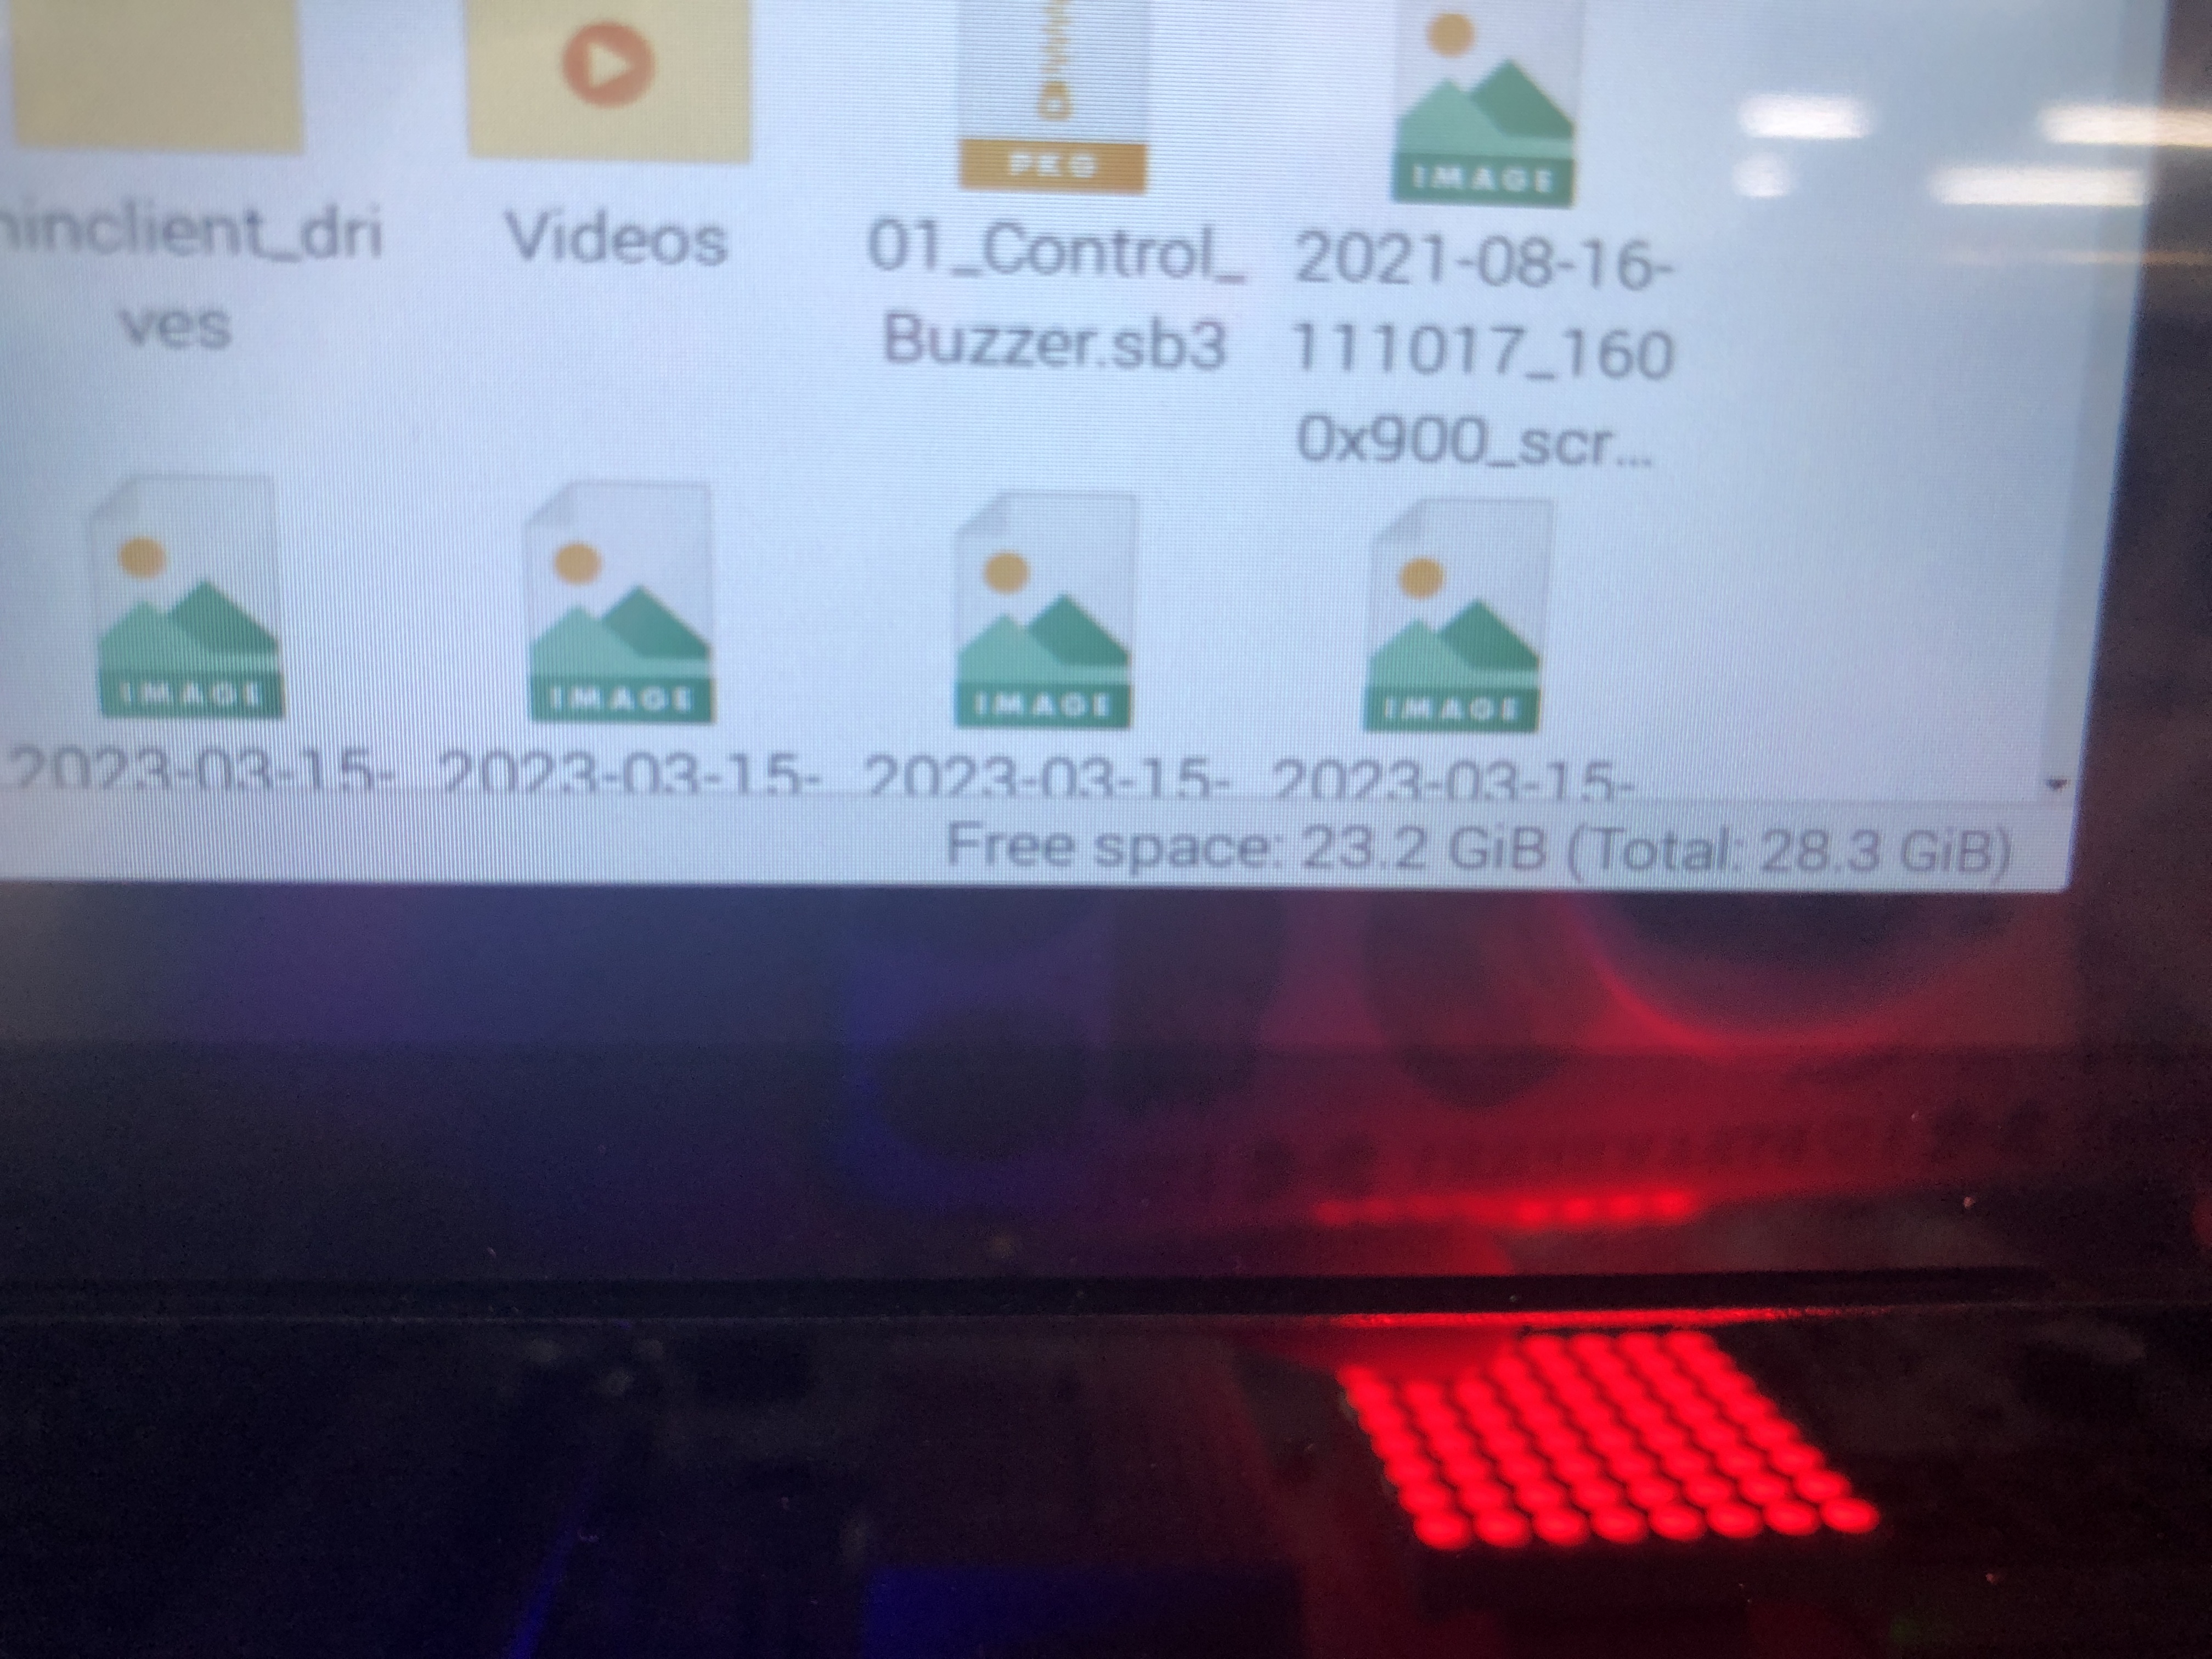
Now the free space is 23G, you can install the software you need!
Comments
Thanks for the clear step-by-step instructions.
I would recommend a more simple way to accomplish this task that yields the same result by using the built-in tool, raspi-config, to expand the filesystem. Just follow the simple steps below: